Casting Clay Horses
Today was a fun day spent at the sculpture studio. After meeting my friend for a quick lunch at our favorite snack bar, we went to our sculpture class. Today was the day we had to cast our clay pieces in plaster. Basically, I spent 20+ hours on my clay horses only to have them destroyed during this phase. First, we had to put on hideous smocks.....
Then, we began to mix the plaster into the water. We had to add dye to the mix so that when we separate the clay from the plaster, we will know where the plaster mold starts. We then poured that over the clay. We even had to bang a mallet under the table to get all the air bubbles out!
We tested the solidness of the plaster by pressing a finger nail to the plaster mold. If our finger nail was visible in the plaster, we knew it wasn't ready. When it finally was ready, we dabbed slip (very watery clay) onto the plaster layer. This was because plaster and clay "don't like each other" as our professor says, so the parts where we added clay won't stick to the second round of plaster, making it easier to break the mold.
Then, we had to mix an even thicker batch of plaster, and apply about an inch of plaster on top of the other mold. It ended up looking like a cake! By the time we completed all these steps, we didn't have enough time to finish the process by subtracting the clay from the mold so we were able to leave early.
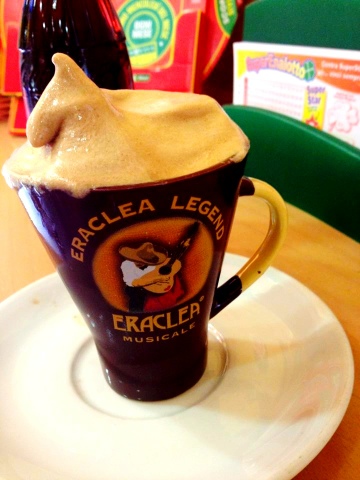
After class, it was time for a nice Italian snack!
The rest of my evening was spent reading another novel set in Florence and researching fun events here in the city!
Ciao for now!





Comments
Post a Comment